Home / Removing Old Windows
Removing Old Windows
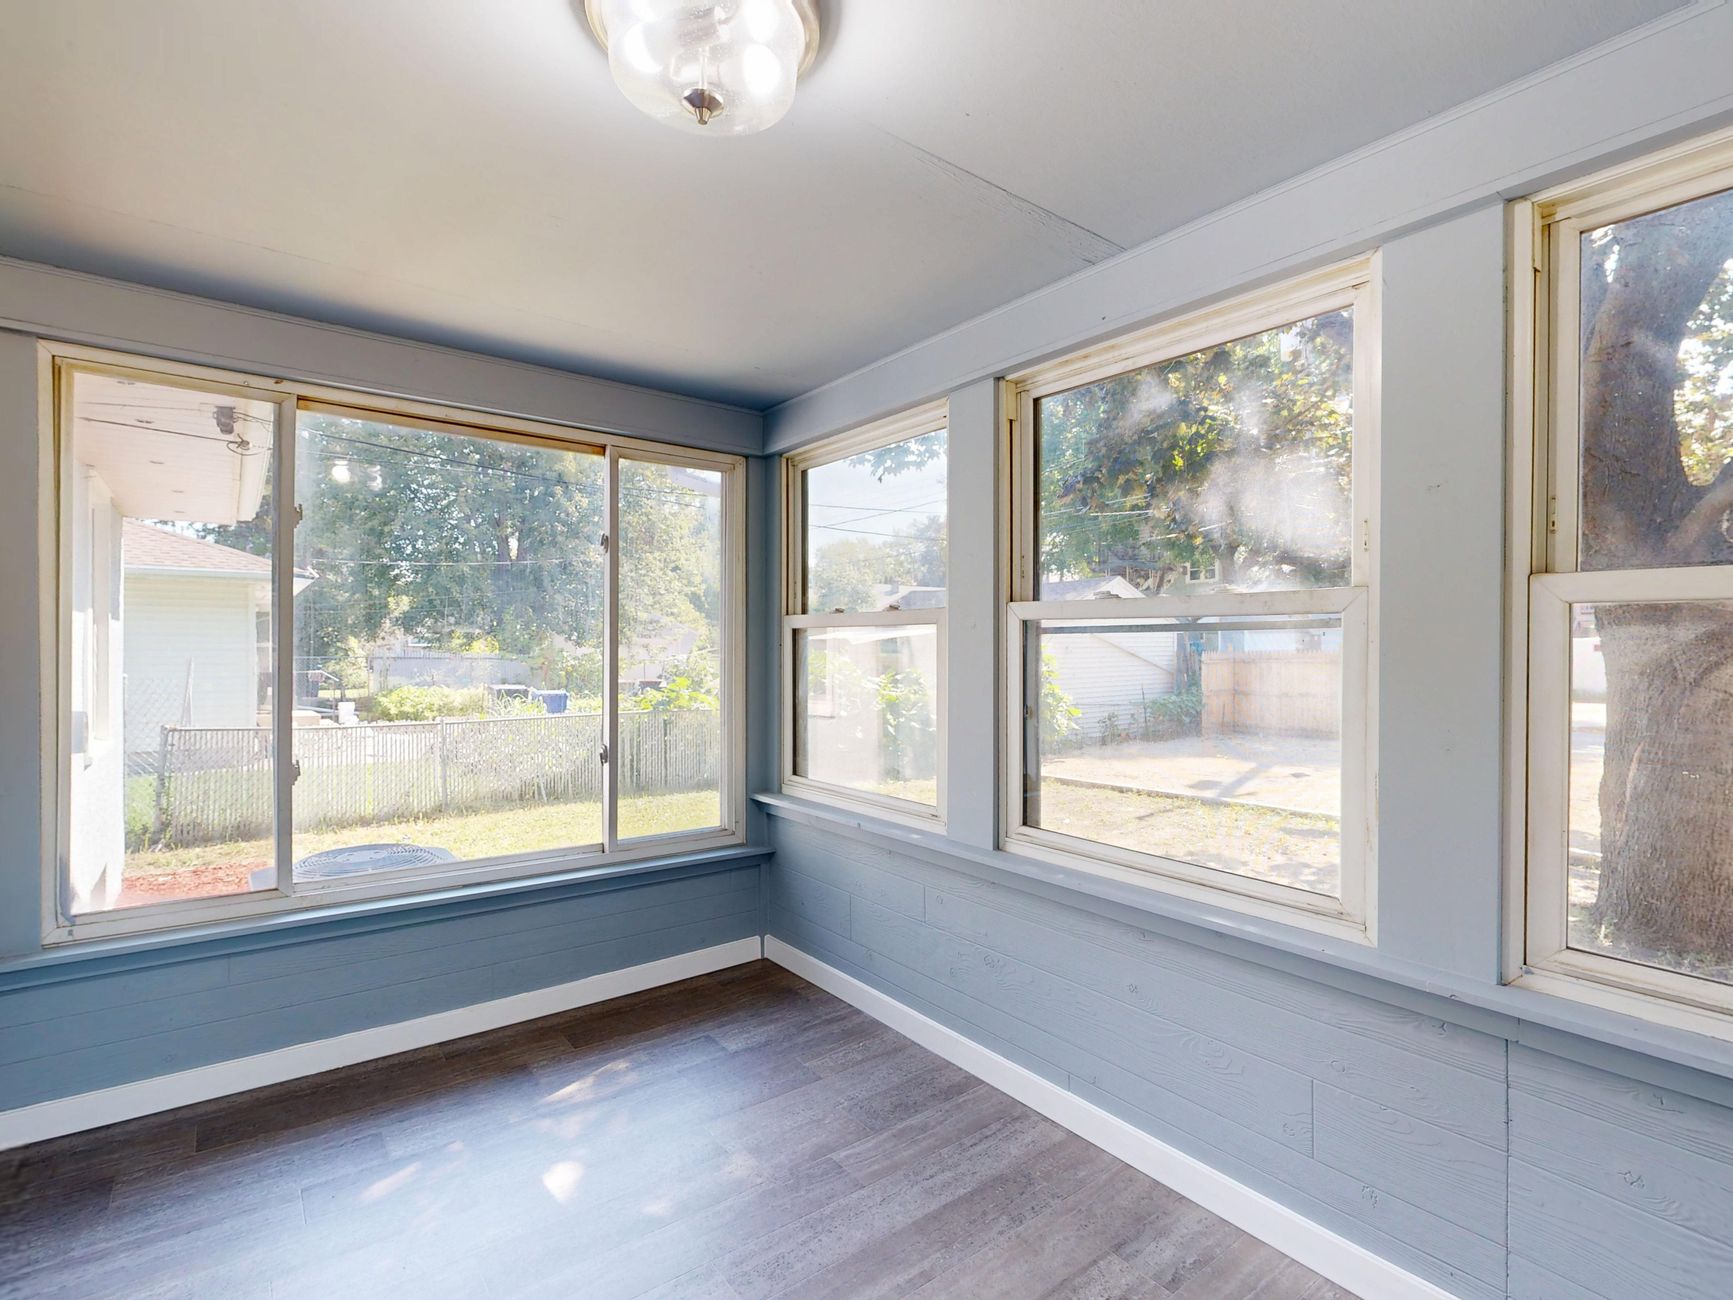
Start by deciding what must survive
Taking out an old window sounds like demolition, but the best removals are closer to careful disassembly. The goal is not to get the old unit out quickly. The goal is to leave behind an opening that is square, clean and sound, with the wall around it undamaged, so the new window has a good place to sit. Every shortcut taken during removal shows up later as a gap, a rattle or a leak, which makes this stage more important than its short duration suggests.
Before any tool touches the frame, the installer decides which parts of the existing assembly will stay. In an insert replacement, the old frame remains and only the sashes and stops come out. In a full frame replacement, the whole unit comes out, along with its trim, and the rough opening is exposed. Each path has its own sequence, and it helps to know which one is planned.
Preparing the room and the wall
Preparation takes more time than most people expect, and it prevents most of the mess. Furniture within a few feet of the window is moved away or covered. Curtains, blinds and hardware are taken down. A drop cloth goes under the work area, and a second sheet goes over nearby flooring where the old sash will be carried out.
- Cut through the paint film along every seam between trim and wall with a utility knife, so removal does not peel the wall finish.
- Check for lead safe precautions if the house is old enough that older paint layers may be present.
- Locate and protect anything mounted nearby, such as an alarm sensor or a wired shade.
- Open the window slightly and look for hidden fasteners, such as screws behind caps or through the jamb.
Outside, the same attention applies. Plants below are covered or moved, and loose items near the wall are cleared away so nobody trips over them while carrying broken glass or heavy frames.
Removing the sashes and the glass
For a double hung window, the lower sash usually comes out first. The stops, which are the thin strips that hold it in its track, are scored and pried off, then the sash tilts or lifts out. The upper sash follows. If the unit has weights hidden in the sides, those cavities hold cast iron or lead counterweights on cords, and they are lifted out through an access door or by removing the pocket cover. Casements are unscrewed from their hinges and operators. Fixed windows with glazing beads have the beads released before the glass is eased out.
Where the glass is to be removed from a frame that stays, the safest technique is to tape it with a crossing pattern to keep fragments together, and to lift it out whole when possible. Large panes are heavy and sharp, and two people handle them far more safely than one.
Taking out a full frame
A full frame removal starts with the trim. Casing comes off the inside, and the exterior trim or brick molding comes off the outside, each pried loose gently so that adjacent wall finishes are not torn. With the trim gone, the frame itself is held by nails, screws or a flange fastened to the wall framing. A reciprocating saw with a metal cutting blade is often used to cut through the nails between the frame and the studs, because pulling a nailed frame by force can crack plaster and rip drywall.
Once the fasteners are cut, the frame is tilted inward and removed in one piece or in a few sections. Wood frames can be cut in half along the head and sill to lessen the effort. After the frame is out, the rough opening is visible: the studs on each side, the header above, and the rough sill below.
What the opening reveals
This is the moment when problems become visible. Old openings can hold a surprising amount of history. The wood below the sill may be damp or darkened from slow leaks. The sides may carry wasp nests, old insulation that has sagged or packed down, or paper that served as the original weather barrier. Sometimes the opening is not square because the house has settled. These conditions are normal findings and not signs of poor work.
- Probe the sill and the lower studs with a screwdriver. Wood that is firm is fine. Wood that crumbles or lets the tip sink in needs repair.
- Check the header for sagging, which would suggest movement in the framing above.
- Measure width and height in three places, and diagonally, to see how far the opening is from square.
- Look at the weather barrier behind the siding or brick. Torn or missing paper should be patched before the new unit goes in.
Decisions made at this point protect the new window. Replacing a rotted section of sill or adding a shim to correct a bow costs little compared with discovering the problem after the unit is installed and trimmed.
Cleaning the opening
Once the old unit is out, the opening has to be cleaned. Old caulk and sealant are scraped away, nails and staples are pulled or driven flush, and loose debris is vacuumed. Paper and tape remnants from earlier installations are removed so that new flashing tape bonds to a clean surface. A wire brush works on masonry edges, and a stiff putty knife handles stubborn residue on wood.
Dust and chips can travel into the wall cavity around the opening, and the cavity can hold insulation that has fallen out of place. Any loose insulation is gently repacked or replaced after the cleanup, because insulating the gap between frame and wall is a separate step done after the new window is set.
Handling debris and old glass
Old windows are heavy, and their disposal is a practical matter. Frames and sashes are stacked outside the work area. Glass is wrapped or boxed before it is moved so that it cannot injure anyone. Metal parts such as weights and balances can often be taken to a scrap handler, and wood from sound frames is sometimes salvaged for other uses. The installer is normally responsible for hauling everything away, and the written estimate should say so.
Damage control on the surrounding walls
Even careful removal can crack paint, chip plaster or mar siding. Planning for repairs is realistic. Interior wall finishes at the edge of the opening are often patched after trim returns, and exterior surfaces near the opening may need touch up paint or sealant. If the removal reveals a wider area of damage than expected, the installer should stop and explain the options before continuing, not simply work around it.
Removal in a house that must stay livable
Most residential removals happen with the family at home, which shapes the sequence. Windows are typically removed and replaced one opening at a time, so that no room is left exposed for long. A temporary cover, such as a sheet of plastic taped over the opening, protects against wind and rain if the work must pause. Pets and children are kept away from the area, and ladders are kept clear of doorways.
Understanding this stage gives a homeowner a better sense of why a day of installation involves more than lifting a new window into place. For readers who want to see removal fit into a full project, the longer articles on window replacement austin hub follow a replacement from the first cut through the final cleanup.
What a good removal leaves behind
A good result is simple to describe. The opening is clean, dry and firm. The framing is sound where it was tested. The weather barrier is intact. The opening has been measured in more than one place, and the next steps, which include flashing, setting the unit and filling the perimeter gap, can proceed without surprises. When removal has been done with that standard, the rest of the job usually goes smoothly.