Home / Replacing Window Casing
Replacing Window Casing
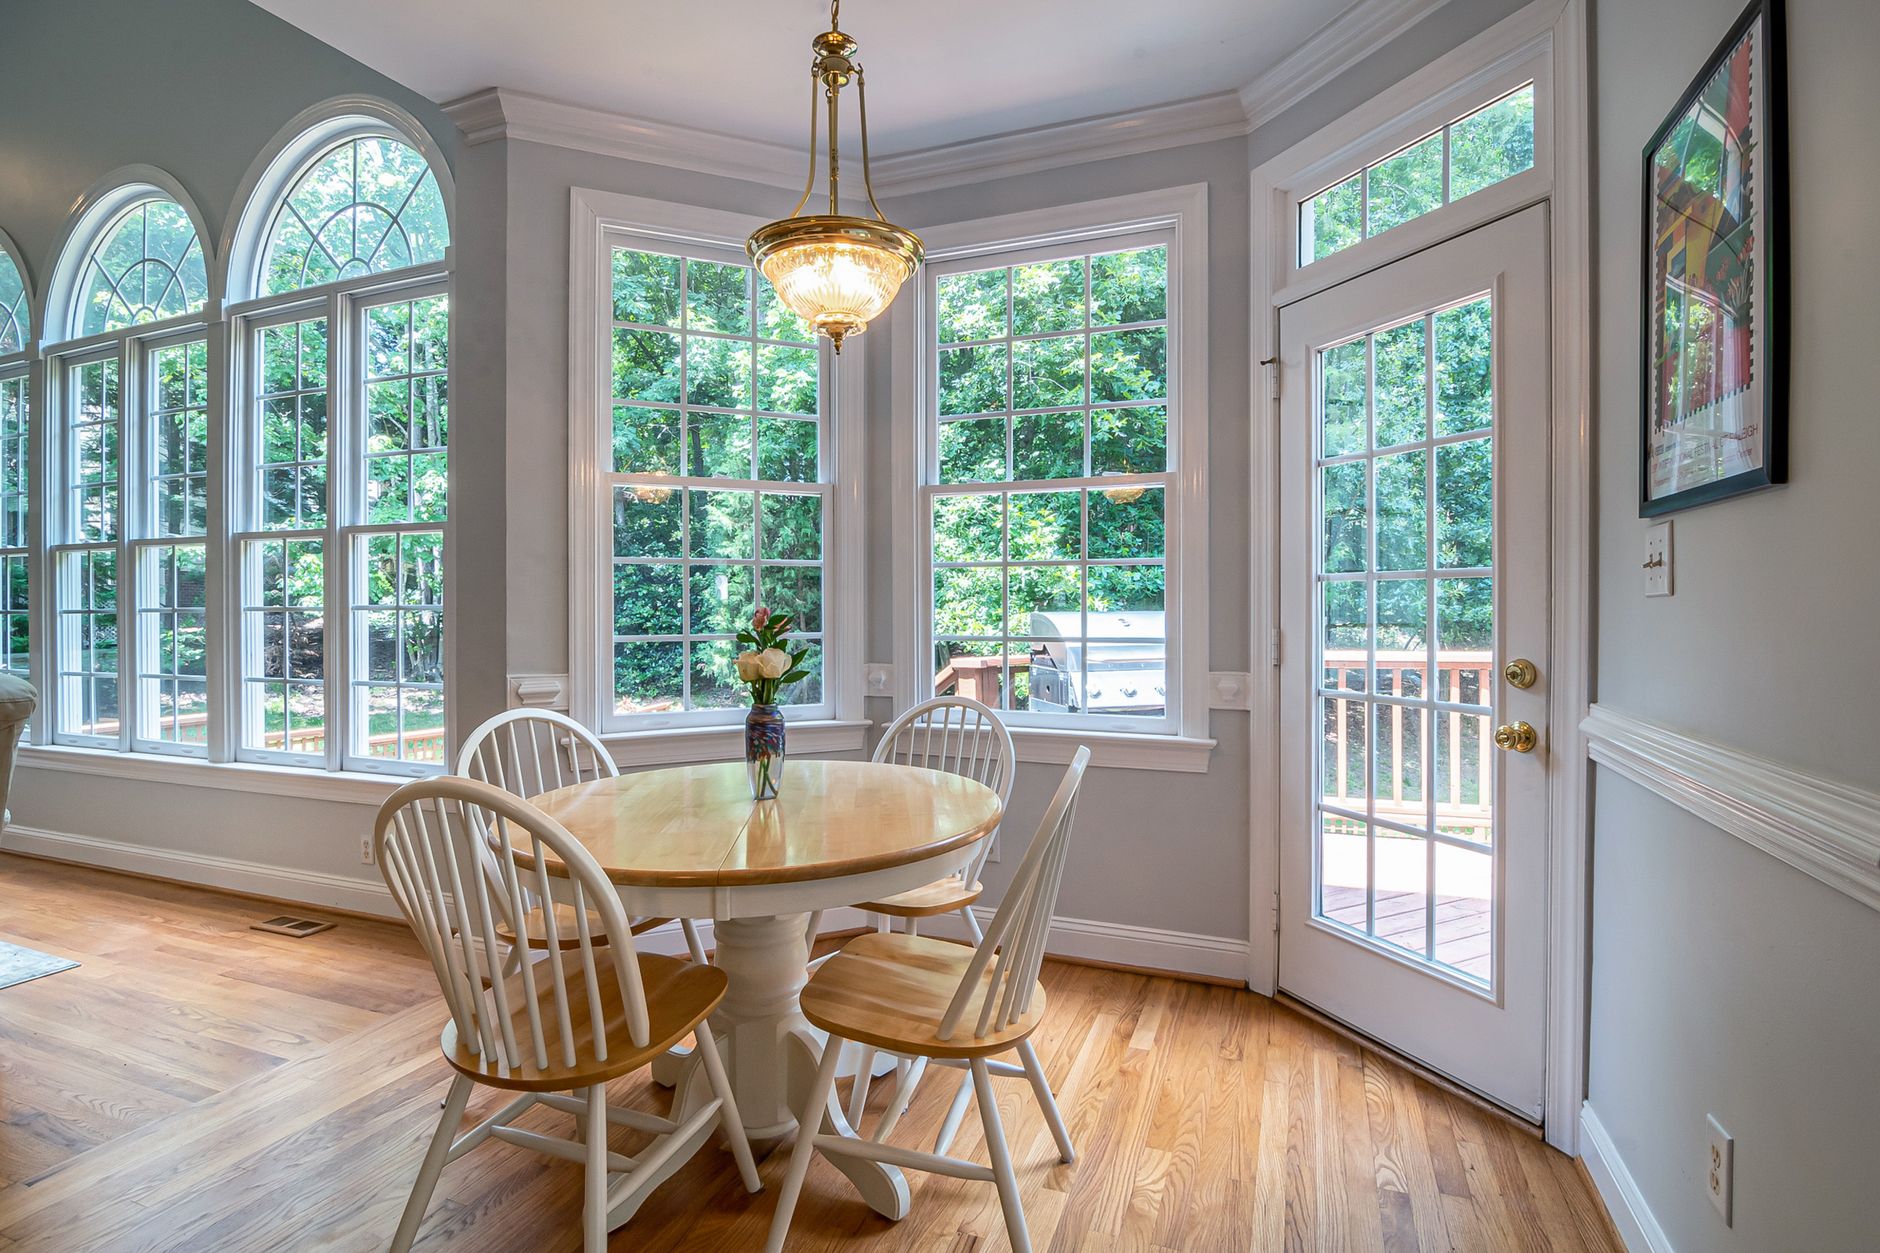
Casing is easy to remove and easy to ruin
The boards that frame a window on the inside are among the simplest pieces of carpentry in a house, and among the easiest to mishandle. A rushed removal splits the wood, tears the paint off the wall and leaves nail holes everywhere. A rushed installation leaves open miters and uneven margins. A careful approach takes only a little longer and gives a result that looks as though it has always been there. This page follows the sequence from the first cut of the knife to the last coat of paint.
Gather the tools before starting
Most of the work can be done with a modest kit. A sharp utility knife, a flat pry bar, a small pry bar or putty knife, a hammer, a nail set, a tape measure, a pencil and a combination square cover the basics. A miter saw, either powered or a hand miter box, makes accurate angled cuts. A brad nailer speeds up the job, though a hammer and finish nails work well. Add wood glue, wood filler, paintable caulk, sandpaper, primer and paint to complete the list.
Removing existing casing
Begin by cutting the paint film along the seam between casing and wall, and between casing and window frame. This step is the one people skip, and it is the reason paint tears off in strips. With the seam scored, slide a thin pry tool behind the casing near a corner and ease it away from the wall, protecting the wall surface with a scrap of wood under the lever.
- Work along the board in short steps, moving the tool every few inches rather than forcing one spot.
- Remove the side pieces first and the head piece last, or work in reverse order of installation if that is known.
- If the board is to be reused, label the back of each piece with its position.
- Pull nails through from the back with pincers so they do not splinter the face.
Once the casing is off, inspect what is behind it. The gap around the frame may hold old insulation, paper or nothing at all. If the gap is empty, this is the chance to fill it with insulation before the new casing hides it.
Choosing the replacement stock
Match the thickness and width of the existing trim in the rest of the room whenever possible. Casing commonly ranges from a few inches to about four inches wide, and the profile can be flat, rounded or ornate. Primed finger jointed pine suits painted rooms and is inexpensive and stable. Solid poplar paints smoothly. Oak or other hardwoods are used where staining is planned. Moisture resistant composites make sense in damp rooms.
Buy a little more than the measured length, because every miter wastes some stock and a mistaken cut needs a spare board. Choose straight lengths by sighting down each board, since a twisted piece will not sit flat against the wall.
Setting the reveal
The reveal is the narrow strip of window frame, or jamb, left visible between the inner edge of the casing and the edge of the opening. A consistent reveal gives the window a crisp outline. A common width is about the thickness of a nickel, and what matters most is that it is the same on every side and matches neighboring windows.
Mark the reveal line with a pencil and a combination square on the jamb, at each corner and in the middle of each side. The casing's inner edge will align with these marks. If the window frame is not perfectly square, the reveal can be adjusted slightly to hide it, but a wandering line is a sign the frame needs correction.
Cutting miters accurately
A mitered corner is two boards cut at forty five degrees that meet at a right angle. To measure the side pieces, hold the board against the reveal marks and mark the long point of the miter at the top reveal intersection. Cut the angle with the saw, test the piece in place, and trim if needed. For the head piece, measure between the two long points and cut both ends in the opposite direction.
- Cut one miter on the first side piece and test it at the corner.
- Mark the length on the piece against the opposite reveal mark.
- Cut the second angle, then offer the piece up again.
- Repeat for the other side, then for the head.
- Check each corner dry before fastening anything.
If a corner shows a small gap, the wall or frame may not be exactly square. A slight adjustment of the saw angle, a half degree one way or the other, can close it. Cut on scrap first before trying again on good stock.
Fastening the casing
Start with the head casing, nailed lightly in the middle, then the sides. Nails go through the board into the window frame along the inner edge, and through the outer part of the board into the wall framing. Nailing into the frame alone is not enough, since the board may pull away from the wall. A small bead of glue in each miter and a pair of fine nails driven across the joint hold corners together as the wood moves.
Space nails roughly sixteen inches apart along the board. Use a nail set to push the heads slightly below the surface. Avoid nailing too close to the end of a board, where the wood is likely to split. Drilling a small pilot hole in hardwood helps.
Filling, caulking and sanding
Once the casing is secure, fill nail holes with wood filler, let it dry, and sand lightly. A thin line of paintable caulk where the outside edge meets the wall hides the small variations in the surface. Another bead can be run where the inner edge meets the window frame if there is a gap, though the reveal line is normally left as a crisp shadow. Wipe excess caulk with a damp finger or cloth before it skins over.
Priming and painting
Raw wood and filler must be primed. Apply one coat of primer, sand lightly once dry, and follow with two coats of paint. A semi gloss finish resists fingerprints and wipes clean. Paint should overlap slightly onto the wall and window frame edge, just enough to seal the caulk line, and a steady hand or painter's tape keeps the margins clean.
Mistakes that show later
Several errors tend to appear weeks after the work seems done. Miters that open in dry weather suggest the boards were not glued or the wood was too wet when installed. Nail pops, where a nail head rises through the paint, suggest the nail missed the framing. Cracks along the caulk line suggest too wide a gap or a caulk that was not flexible. Uneven reveals suggest a measuring problem. Each is avoidable by taking more time at the measuring and fitting stage, since correction after painting is far more work.
A successful result is quiet. Nobody notices the casing, only that the window looks finished and the room feels tidy.